1. To move in a Tenant, click on the “Move In” button. (Operations).
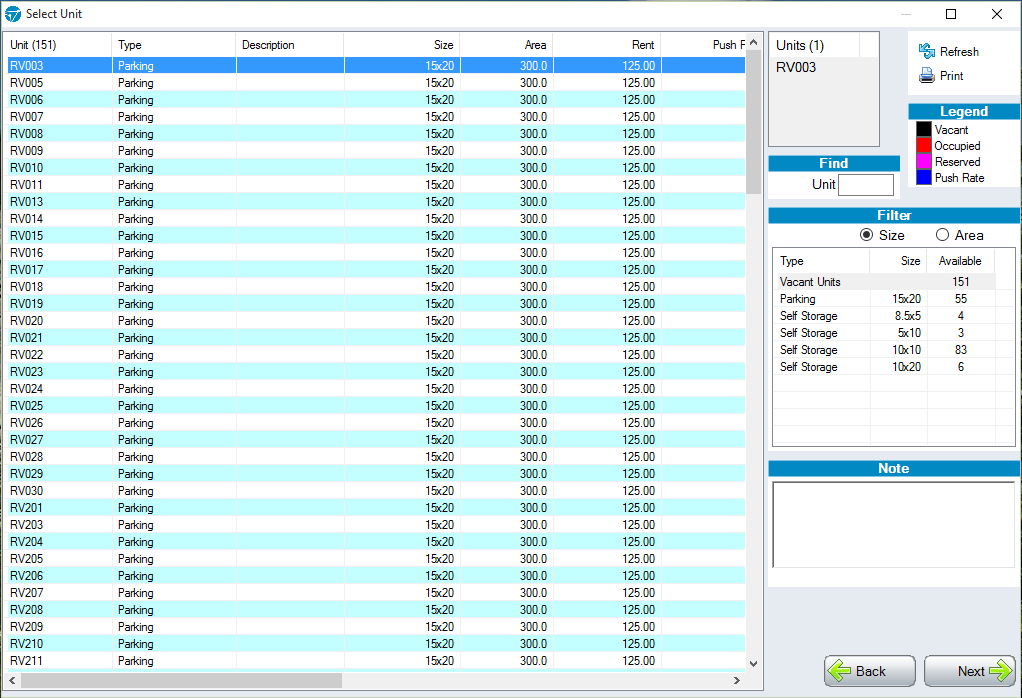
2. The first step in a Move In, is selecting a unit. SiteLink only displays the empty units. Sort the unit list by clicking on a column header if, for example, to help find a certain unit by size or rent. If a unit is coloured pink/purple that means it is reserved on the waiting list. Blue represents unit push rates and red is occupied. There is also a filter feature to select unit by size or area.
Click “Next” to continue to the next step.
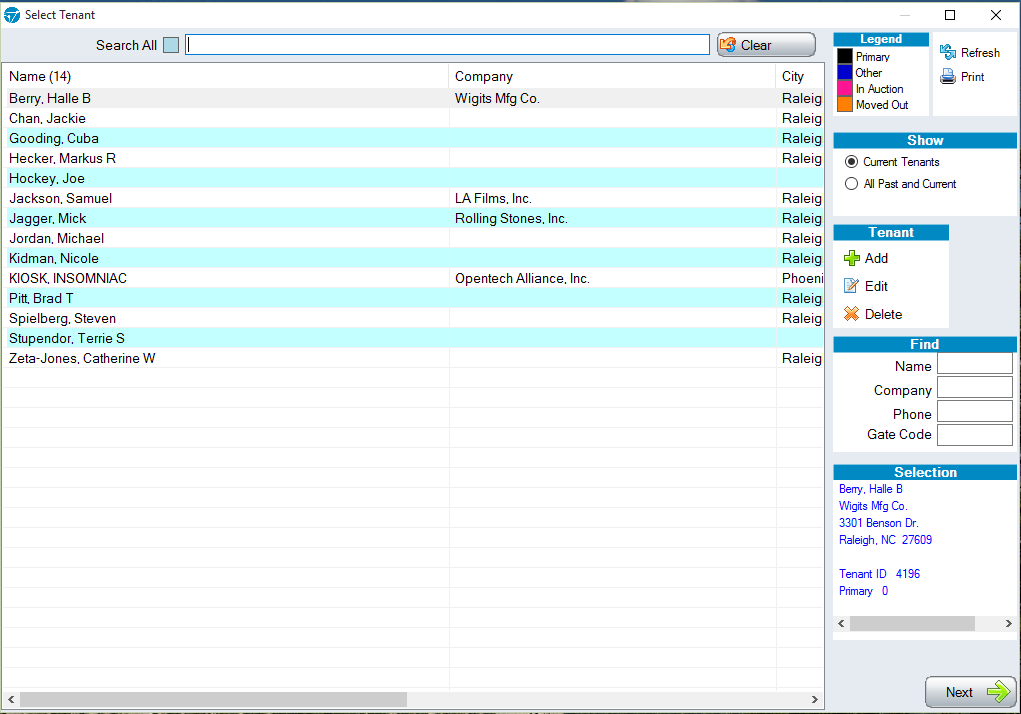
3. The next step is to enter the tenant’s name. If the Storer is an existing tenant that wants to rent another unit, select his name from the existing list .For new tenants, click on the “Add” button and type in the required fields, which are coloured green, then click “OK” save the information.
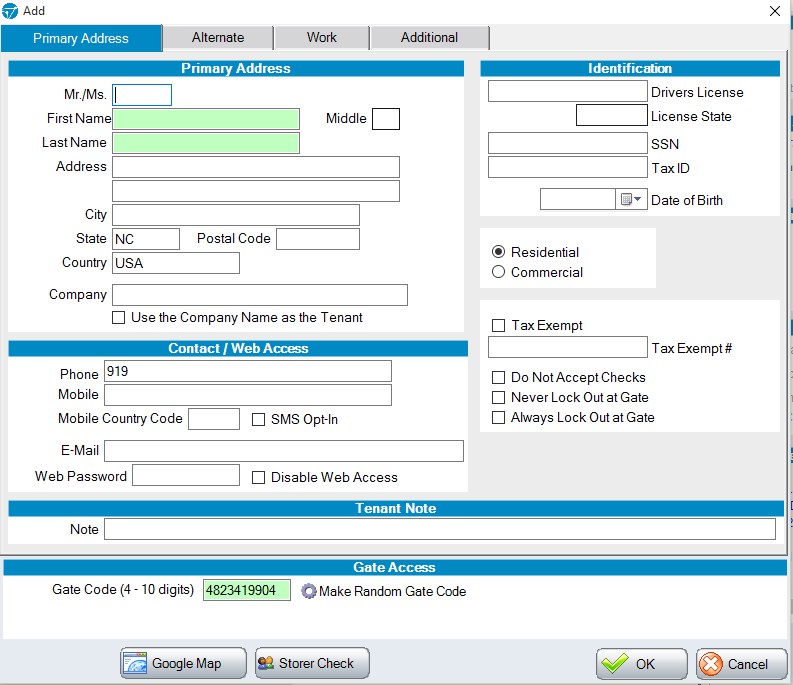
After clicking “OK” the “Select a Tenant” screen will return. Choose the Tenant Name and then click “Next” to continue to the Move-In Screen.
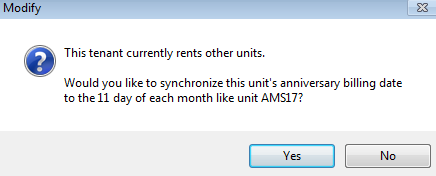
If an existing tenant is chosen, a prompt will display whether to make the existing unit the same anniversary billing date as the new unit.
4. Starting to the left of the Move-In Screen, under the heading “Account”, verify that the tenant’s Rate and Move In date are correct. The dates can be backdated or a future Move-In date can be applied on the drop down calendar (Setup Dependent).
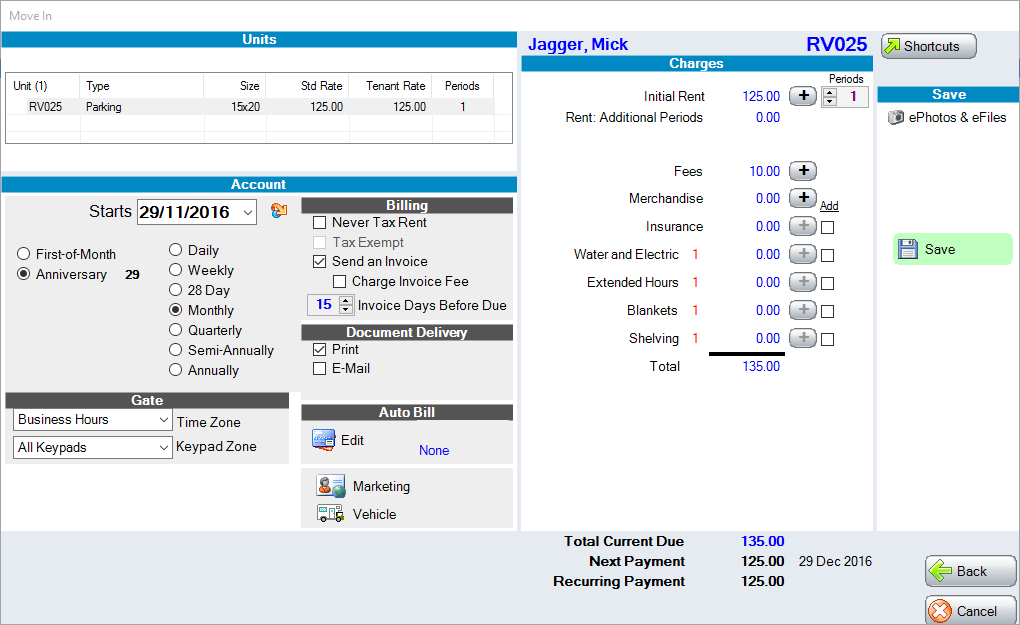
Additional fields are available to verify if the billing frequency is set to Weekly, Monthly, or 28-day cycles. This screen also allows you to set Gate access, and specify the settings for Invoicing and Auto Bill Credit Card payments. Promotions are special discount plans created that can be applied for new tenants; these plans are created in SiteLink Corporate Control.
If a future date on a “Move In” is selected, gate access will be restricted until that date.
NOTE: If Monthly billing is chosen the tenant cannot go back to 28 day, Weekly or Daily options, only forwards to Quarterly, Semi-Annually or Annually. To lower the billing period, the tenant must be moved out and back in.
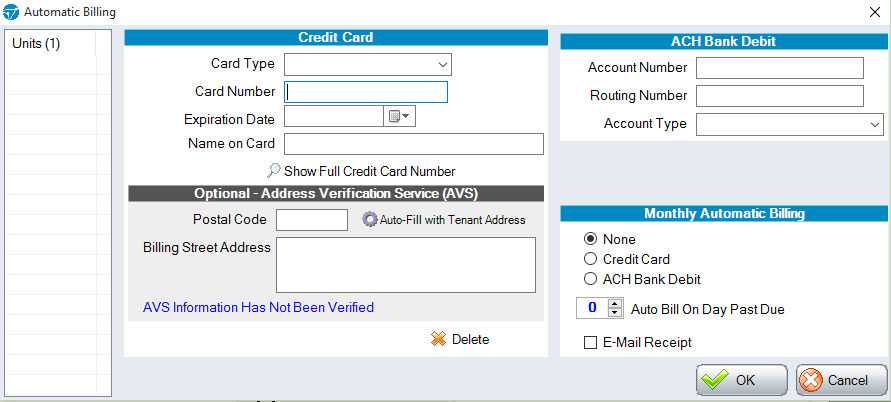
Clicking on “Edit” in Auto Bill will allow you to save the tenant’s card details for future payments.
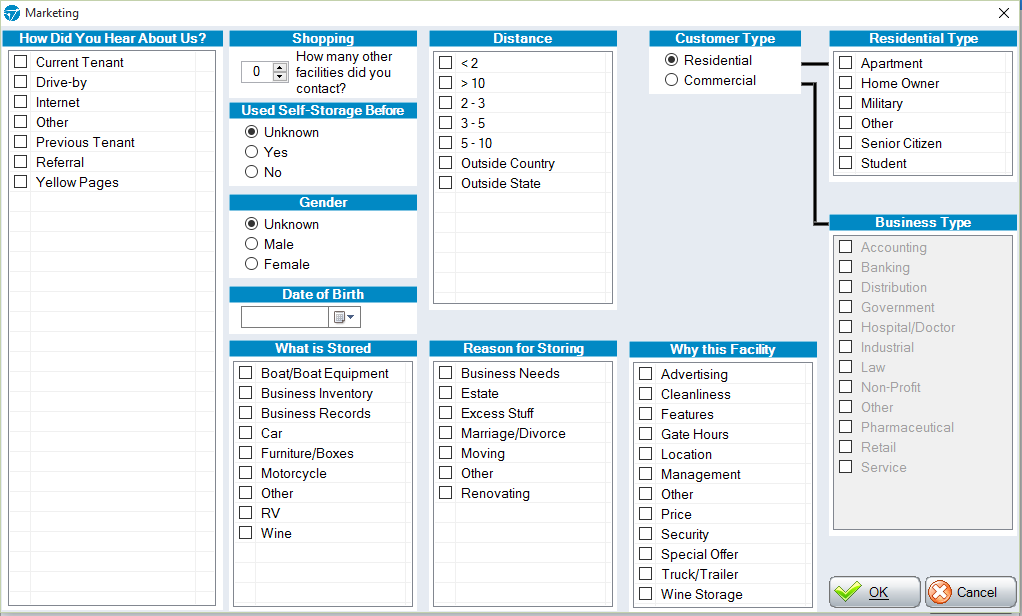
There is a Marketing tab to assist in building a Marketing profile.
There is also a Vehicle tab to enter license plate and car details if required.
In the charges field, check the relevant charges that apply for the unit.
Recurring Charges are predefined charges like “Water and Electric” or “Insurance.”
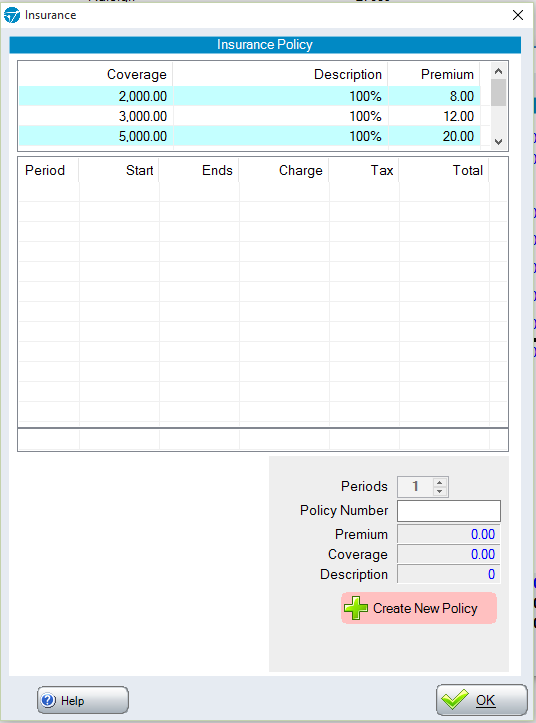
For Insurance, click on the plus icon, select Coverage amount in the top section of the window and then enter the policy number. You will then have to click “Create New Policy”, followed by clicking on “OK”.
5. The next step is to click on the plus icon, next to the rent amount.

6. The Rent Edit screen is where discount plans that can be applied will appear; you can add future payment periods and adjust the tenant’s monthly rate.
Note: Discount plans will not appear unless the plans have been set up prior to move in.
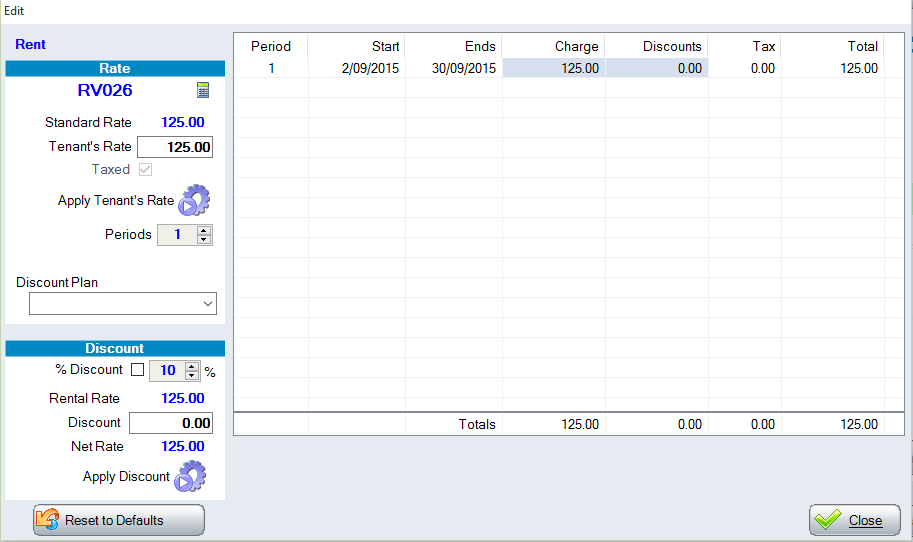
7. When satisfied with the charges and any discount plans that apply, click on Save.
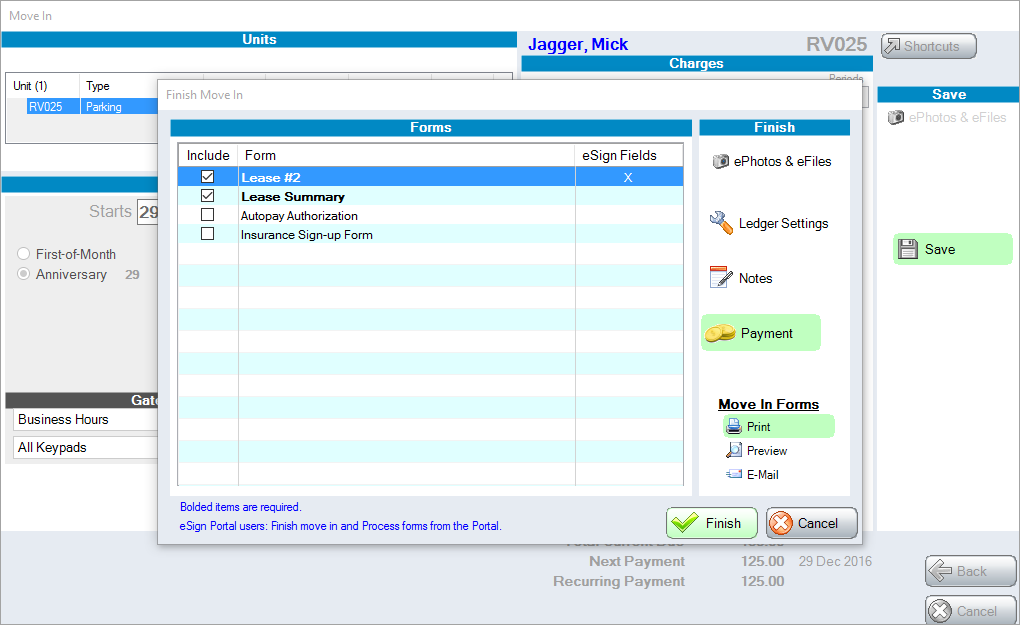
Clicking Save on the Move In Screen, highlighted in Green on the right hand side, will open up a new window.
From this screen, you are able to either take a payment for the move in, print out documents for the customer, or you can click Finish to complete the move in and take payment later.
The ticked items in the list will be the documents which will be printed out if you were to click the “Print” button at the bottom right.